Archive | February 2013

You Might Be a Craft Addict If…


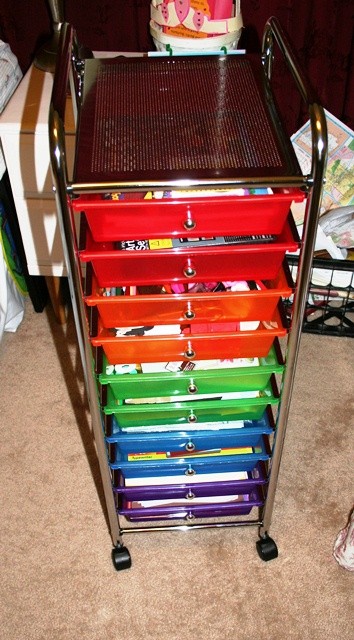
I was attempting to organize my craft/guest room, and I started thinking as I looked at groups of object “you might be a craft addict if…”  Ding, ding!  That’s all it took for me to abandon my organizing and start a list.  So, here it goes.  Feel free to add your own in “comments.”IMG_2103
You Might Be a Craft Addict If…

  1. You more colors of thread than you thought possible.
  2. You have enough piles of fabric to be mistaken for a fabric store.
  3. You visit your local craft store once (or more) every week.
  4. You have at least one entire container full of ribbon.
  5. You cannot pass clearance craft items without buying some of them.
  6. You have craft supplies you’ve never used but “know” you will, eventually.  (Yes, I will start scrapbooking.  And quilting.  And…)
  7. Your “guest/craft” room has no place for a guest.  (Um, there’s a bed in there, somewhere.)
  8. You are constantly buying and/or making more items to help you store your craft supplies.
  9. You need to re-organize your craft supplies monthly to accommodate new items.
  10. You spend hours pinning “pins” you will probably never get to on Pinterest.
  11. You spend even more hours re-organizing your Pinterest boards so you can find things when you want to eventually try to do them.
  12. You have a bunch of blank canvases, yet still buy more when they are on sale.
  13. Your paint rack is overflowing and you probably should buy a second one.
  14. You consider co-opting portions of your children’s closets to store some of your craft items.

If any of the above apply, you might be a craft addict.
Oh, Fudge


This morning, I saw this fudge post by the Pintester sitting in my inbox.  She was testing this recipe.  It looked pretty easy, and I thought I should try it.  (Especially since I’m trying to avoid opening another box of Girl Scout Cookies.)  The one problem is that we didn’t have any sweetened condensed milk (SCM).  We had evaporated milk and dry milk, but no SCM.  😦

Not one to be daunted, I turned to my pal, Google.com.  It came through for me, as usual.  The first recipe I found at cooks.com used eggs.  I wasn’t sure that was a great idea since fudge doesn’t involve baking and the eggs would likely be half-cooked during the melting process, and that might not work out so well.  The next one used dry milk.  Yay!  So, I went to work making my SCM.

First of all, let me tell you that the smell of dry milk mixed with water is YUCK.  And it didn’t look like much, at first.

Dry milk and water.  Doesn't look like much.

Dry milk and water. Doesn’t look like much.

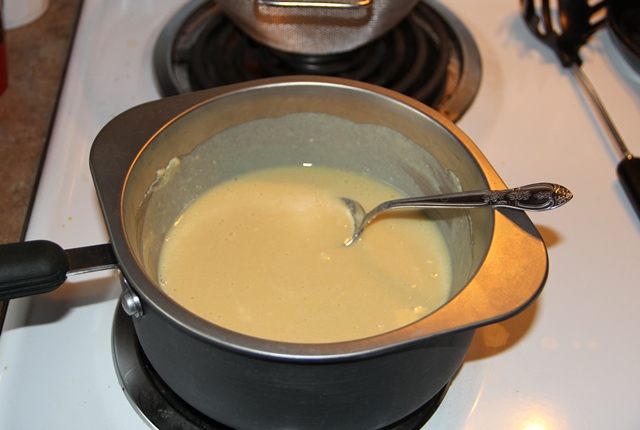
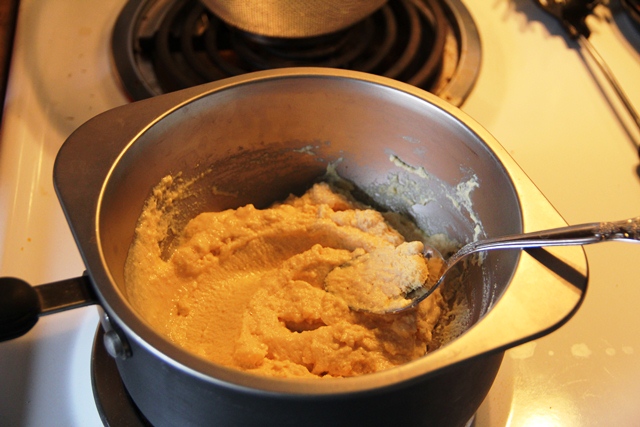
However, after I added the sugar and did some stirring, it started to look how I wanted it to look.

Looks like sweetened condensed milk...

Looks like sweetened condensed milk…

So, I put it into the refrigerator, per the instructions.  When it was ready, it was fudge time!

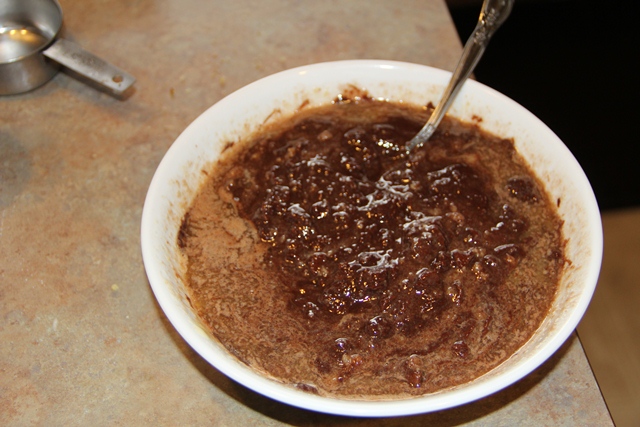
Being that I do not like milk chocolate chips and do not keep them around, I used semi-sweet chocolate chips.  I got everything ready to go into the microwave and set the timer for 3 minutes, figuring I’d want to stir it by then.  When I took it out and stirred it, it was not blending well.  😦  It had the funny dry milk smell and I was worried by the texture of the chips that they might have gotten too much heat and were starting to scorch inside.

My much mixed but not still needs more heat mess.

My much mixed but not still needs more heat mess.

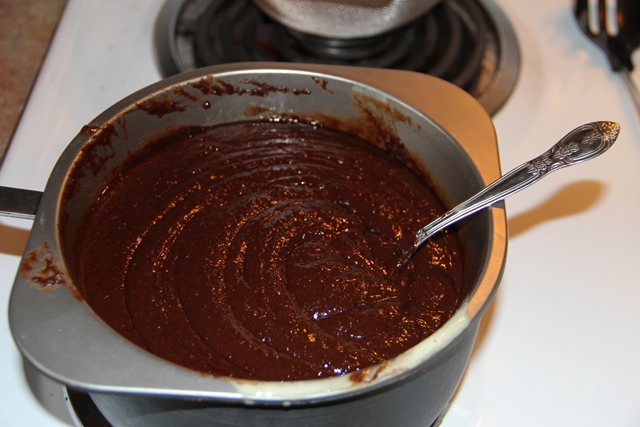
So, I decided to put it back into the double boiler where I could stir as it melted.  It never got as smooth as I wanted it, and I needed to run some errands, so I deemed it “good enough” and poured it into the pan.

Back in the double boiler.

Back in the double boiler.

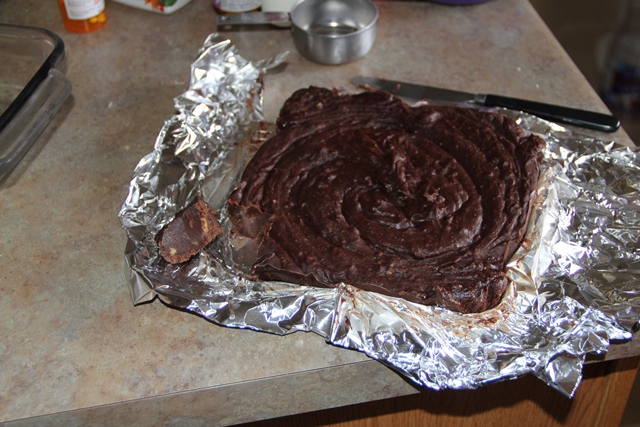
Fudge!

Fudge!

Overall, the fudge isn’t bad.  However, when you first bite into it, there is a dry milk flavor that you eventually get past.  Overall, I think the fudge recipe is probably good, but I wouldn’t try it again without having real SCM on hand!

Painted Art Journal


I’ve frequently seen these beautifully decorated art journals on Pinterest.  Usually, the artist has used polymer clay.  While I intend to do some experimentation with polymer clay, I haven’t quite gotten there yet.  However, I found a plain black sketch book on clearance, so I bought it with the intent of making it beautiful with paint.  After all, who wants an art journal that has a boring cover?  That’s not very inspiring, is it.

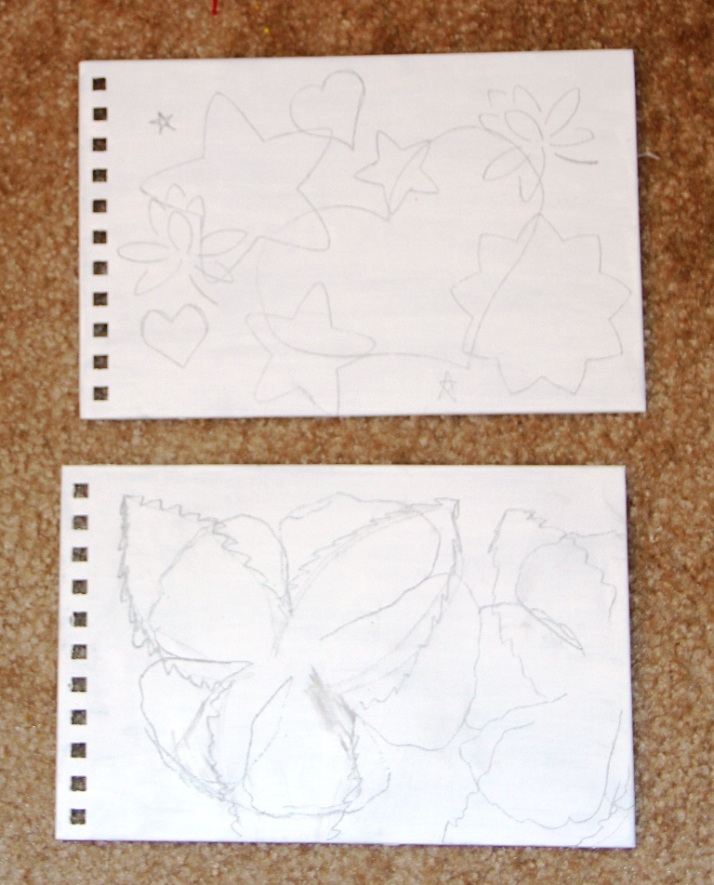
The first thing I did with  my shiny black sketchbook was to give it 4-5 coats of gesso.  Once that was done, I was ready to draw my design.  On one side, I drew hibiscus flowers (a favorite of mine), and on the other side, I used some stencils to draw a bunch of different shapes.  (I wasn’t in the mood to free-hand and keep erasing until I got it right.)

My design sketched out on the gesso-covered cover.

My design sketched out on the gesso-covered cover.

As you can see, my hibiscus drawing isn’t quite perfect.  Seeing the way the final cover photographed, I wish I’d used white paint to cover some of the sketch lines that went through the middle of the flower petals.  While my final product looks good to my naked eye, the extra light from the camera really brings out the flaws, as you will see shortly.

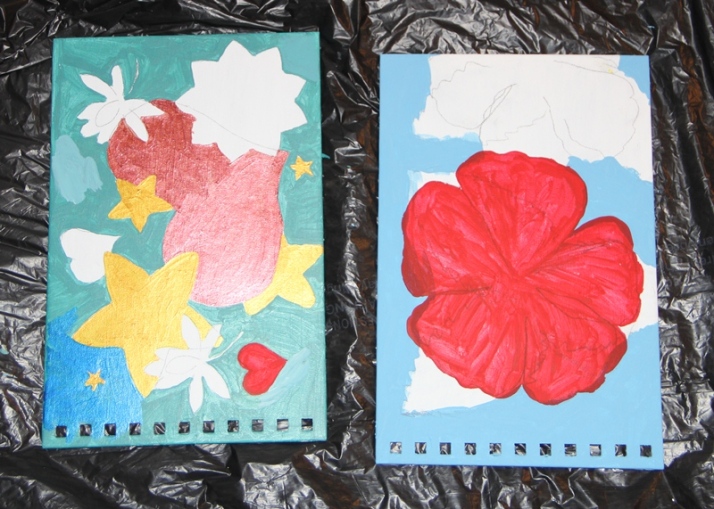
Next, I started painting.  I wanted the sketchbook to have “bling,” so I chose to do one side in flat paint to be covered with glitter later (the flowers), and I did the other side in metallic paints (the shapes).  I had a hard time finding the right color for the background on the metallic side.  I tried to blend some metallics together to get metallic green because I didn’t have any.  That didn’t work out so well, so I wound up choosing metallic blue.

In progress photo of the covers.  You can see I've started painting over the blah green with blue (metallic side).  I had barely started the flower side at this point.

In progress photo of the covers. You can see I’ve started painting over the blah green with blue (metallic side). I had barely started the flower side at this point.

Once I had both sides painted the way I wanted (including adding the glitter on the flower side), I painted both covers with Mod Podge Hard Coat, which is intended for furniture.  I figure if it can protect your designs on furniture, then it surely can protect these sketchbook covers from getting banged up.

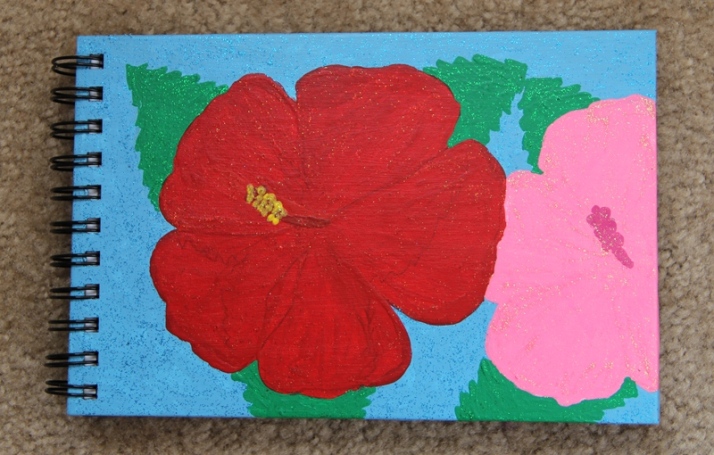
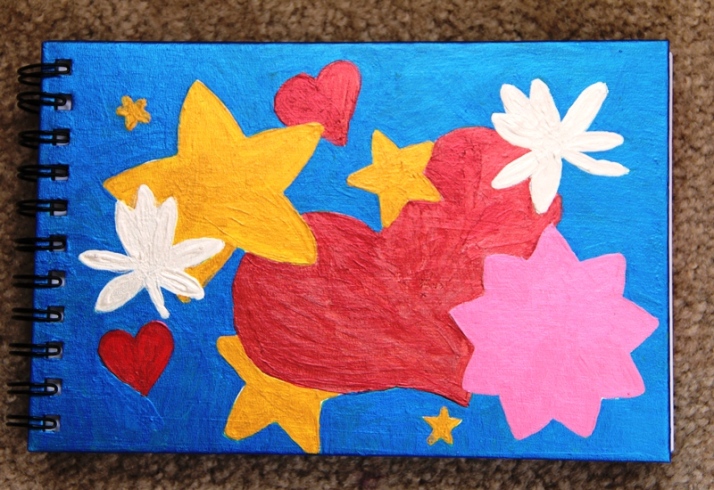
Here’s the final product:

The glitter side with the hibiscus flowers.  As I noted above, the photographs show a few of the pencil lines through the paint.  I was using layers of craft paint--I could probably have avoided this with using the thicker artist paint I have, but then I would have needed to mix a lighter color to get a layered effect.

The glitter side with the hibiscus flowers. As I noted above, the photographs show a few of the pencil lines through the paint. I was using layers of craft paint–I could probably have avoided this with using the thicker artist paint I have, but then I would have needed to mix a lighter color to get a layered effect.

The metallic side.  I noticed while editing the pictures that there are a few white edges between paint colors.  Oops!  Oh, well.  I think it's fine for what I'm using it for.

The metallic side. I noticed while editing the pictures that there are a few white edges between paint colors. Oops! Oh, well. I think it’s fine for what I’m using it for.