Do you like my title? Makes it sound like I’m doing witchcraft, doesn’t it? Well, I’m not. Somehow Hogwarts never sent me a letter. 😦 I guess I’m not gifted enough.
Okay, enough silliness. A while back, I took some photos of my craft room (when it was semi-clean). I thought it would be fun to share the place where I do most of the stuff I blog about (except the cooking–and I will probably never post a picture of my kitchen; even when the countertops are pristine, they’re cluttered as all get-out).
The room also doubles as a guest room (if I can clean it before the guests arrive). Ideally, I’d like to have a murphy bed so I could have more room when guests are not here (which is most of the time), but they’re expensive. So that’ll have to wait.
Anyway, onto the room:

The guest bed and artwork.
The guest bed is a full-size bed. I would like to make it a twin if I can’t have a murphy bed, but my most frequent guest (aka Mom) likes a double. Also, my daughter sleeps there with her friends when she invites them for a giggle-fest sleepover.
The artwork over the bed consists of a cute print my former stepmother (who will always be part of my life) gave to me (head of the bed), a painting I did, and a glued-together-puzzle. The painting was an attempt to recapture what I did in junior high art with pastels, but it never quite got where I wanted it. I also never got quite the right color green in the background, so maybe it is good that you can’t tell the sage green wall color in the picture (it isn’t the most complementary matching). One of these days, I will take a stab at making something I like better for over the bed. Glued-together-puzzles always make affordable artwork, especially if you and your husband spent the first three to five years together (dating and before children) doing many puzzles. We just used push-pins that matched to hold them up on the wall. I actually have a lot of puzzles decorating the walls of my house.
This rolling cart is a pretty new addition to the room. I love having some flat storage space so I no longer have to dig through all my flat items to find what I need.
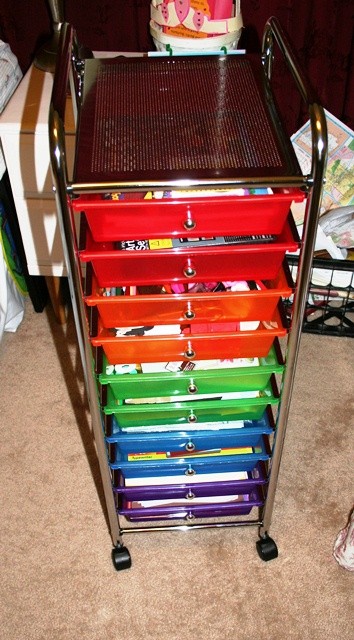
A rolling storage cart contains paper, pencils, and other supplies.
My sewing table is an old student desk. When I started using the room, I wanted to be able to watch the TV while sewing. I stopped using the TV, so I got rid of it, but I like that the desk is facing the door. At any rate, I made a velcro curtain to cover the ugly backside of the desk so that my room still looks pretty when you enter it (assuming, of course, that it’s clean–big assumption).
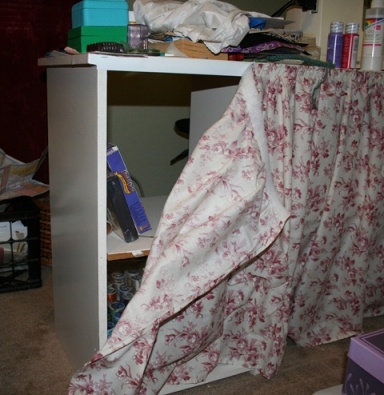
Sewing table with curtain open.

Sewing table with curtain
I wanted a bulletin board in my room, but all I had were some old “kiddie” ones from my childhood. I took the Snoopy one, painted it white, and covered it with the same fabric I made the curtain out of. I used ribbon accents to make it prettier. It sits right behind my desk/sewing table.
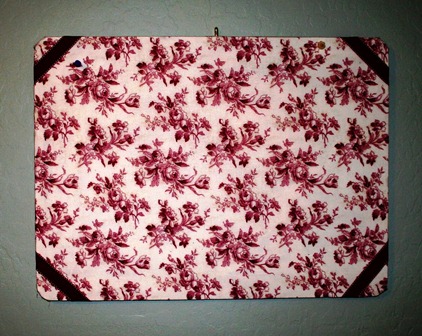
Prettified bulletin board.
There are two areas absent in this entry. One is the wall contains the former TV now printer stand and the closet. The closet is scary messy. I keep telling myself I’ll clean it to take a picture. But I have sooo much stuff–fabric, wrapping paper, old boxes that I’m going to do something with one day, etc. Because of that, I don’t have a picture. If I ever get it clean enough for a picture, I will take one. The other item missing is a storage cupboard, which I’d really like to take a picture of, especially since I built a custom shelf insert for it to hold my craft paint bottle holder. However, I’m mid-project right now, and this blog has waited long enough. So, I will have to add it some other time.
I hope all of you enjoyed seeing my space. I’d love to see yours, so if you’ve got pictures posted somewhere, please feel free to leave the link in the comments!